- 2018-11-30
- Photo & Video edit app
- iMovie
- コメントを書く

You can make a professional video easily by iMovie that is a default movie app of iPhone / iPad.
But you may feel difficult to use it at the first time.
So in this article I’ll tell you about the minimum operations required to make a video.
Contents
Select video
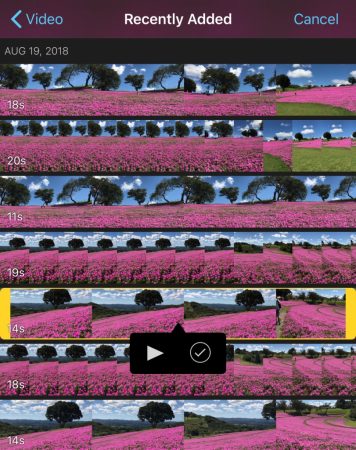
Select a video from the list and tap it.
You can see a preview by holding down anywhere inside the yellow line or pushing a play button.
It is a nice function because you can check a content of the videos without moving to edit mode.
This makes selecting video easier when there are similar movies in the list.
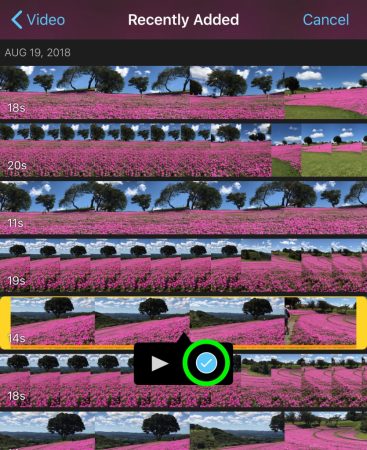
Tap a check button to select this video.
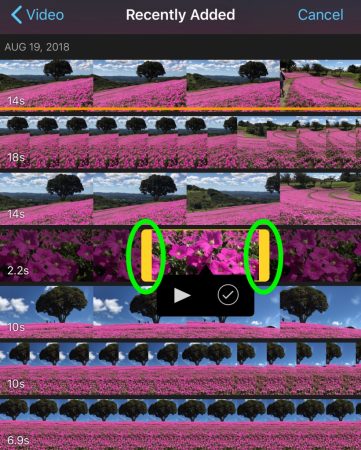
You can continue to select other videos.
Pulling handles on both ends on the video makes the time shorter or longer.
This is one of the only function that iMovie has.
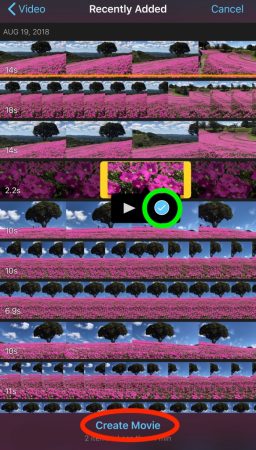
Tap the check button then tap “Create Movie” to finish selecting video.
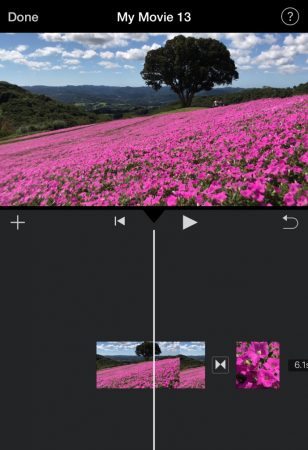
The video you chose are displayed in the timeline.
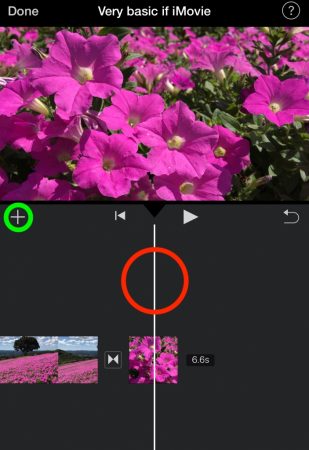
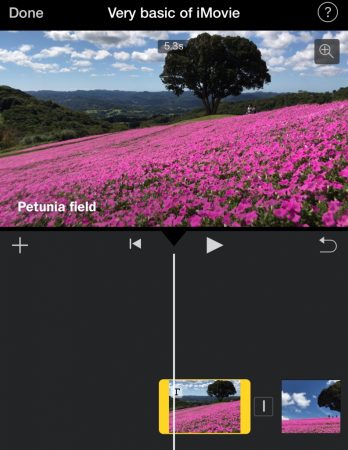
Move a white line to the position where you want to add another video, then tap “+” button.
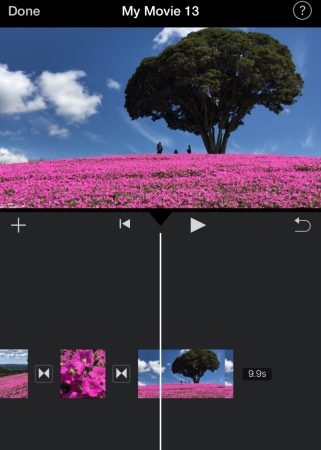
Select a video in the same way and a new one is added to the timeline.
Move & delete the video
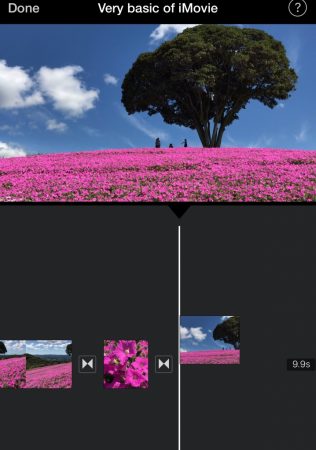
If you want to change the position of a movie, hold a video.
Then it pops up.
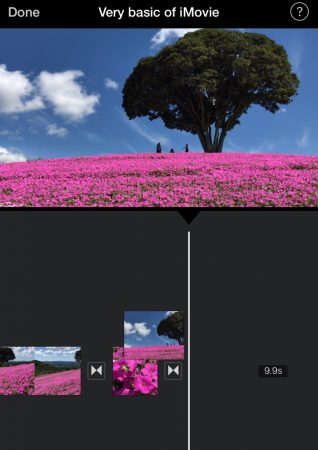
Keep holding and slide it, then you can movie a video.
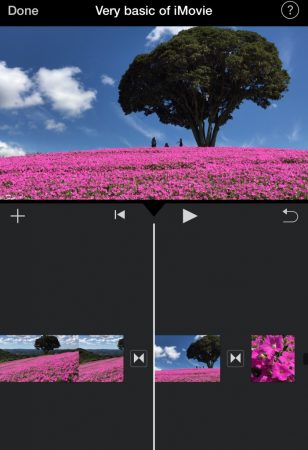
Release a finger at the position you want to move.
Displacement of a video is completed.
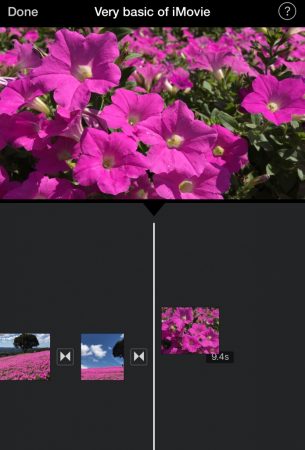
To delete a video, hold the movie until it pops top.
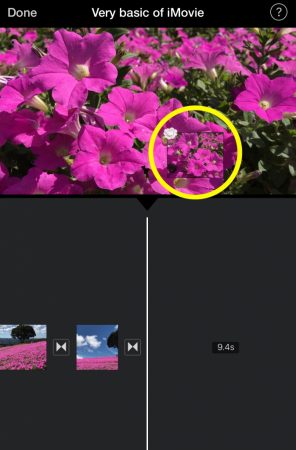
Keep holding and slide to the preview screen, then a cloud mark appears on the upper left of the video.
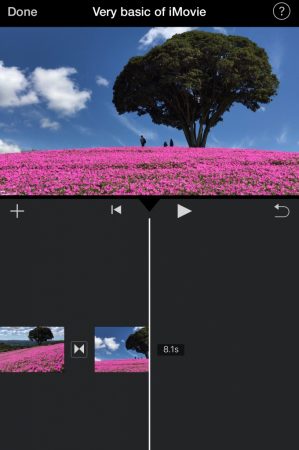
Release a finger then the movie disappears.
Change the length of the video
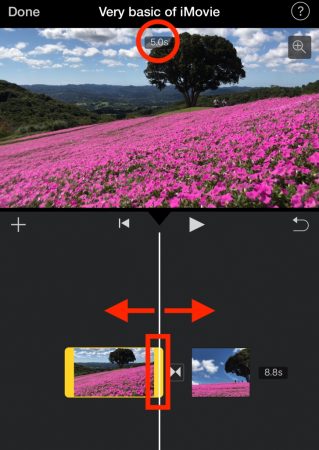
There are two ways to change the length of the video.
The one is pulling the yellow handle at both ends that appears when you tap a timeline.
The time of a video is displayed on top.

The other one is move the white vertical line to the position where you want to trim a video, then tap “split”.
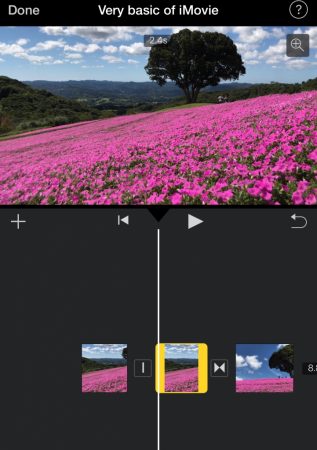
Vide is divided into two timelines.
Add subtitle
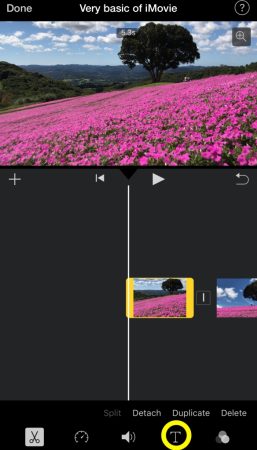
Tap a timeline that you want to add subtitle.
Then tap “T” mark button that appears on the bottom.
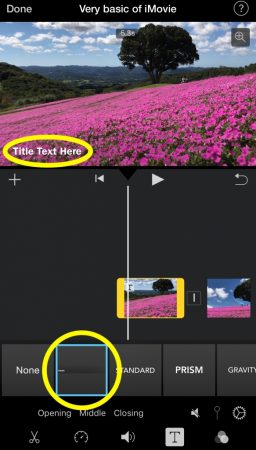
You can choose a style from the list by tapping it.
I like a “simple” style the best.
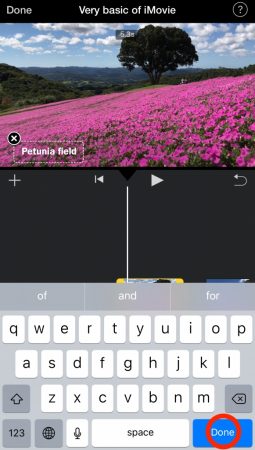
Input the texts then tap Done.
Add music
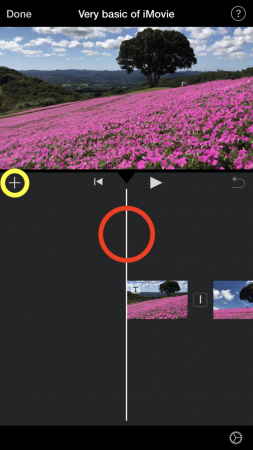
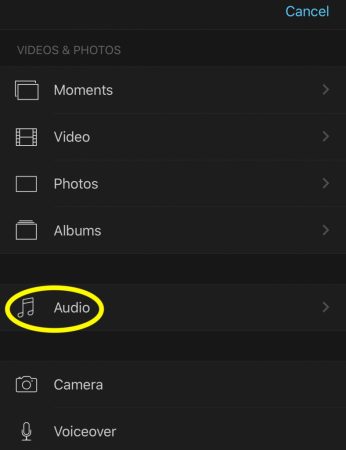
Move the white line to the position where you want to set a music, then tap “+” button.
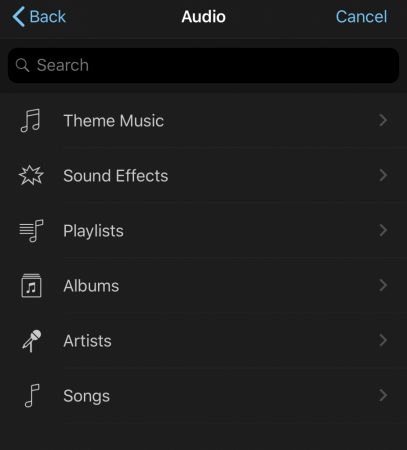
You can choose a music from songs, albums,artists,etc…
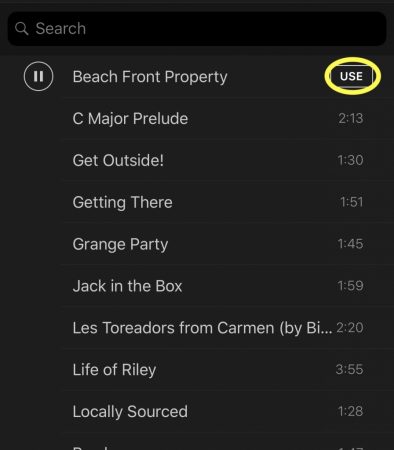
Tapping the name of songs begin to play a music.
If you want to use this song, tap “USE”.
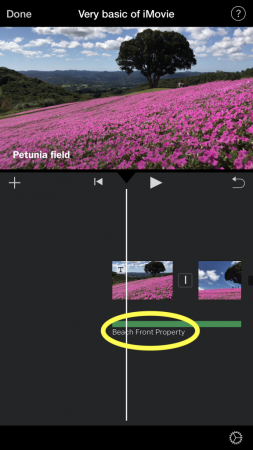
Music is set to the timeline.
The length of the green bar displays the play time.
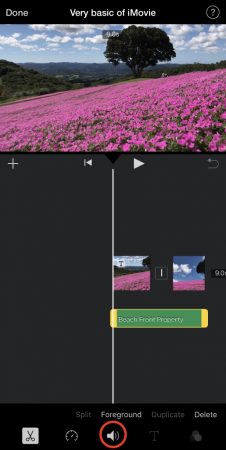
Tap the timeline and speaker shaped button appears on the bottom.
Tap it to change the volume of a music.
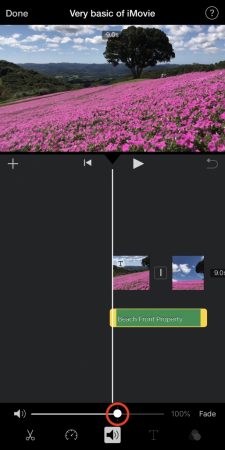
Moving the slider turn the volume up or down.
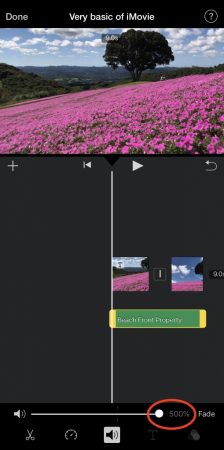
You can turn the volume up to 500%.
But 500% will make the sound distort.
So 200% would be better.
Export video and save to the camera roll
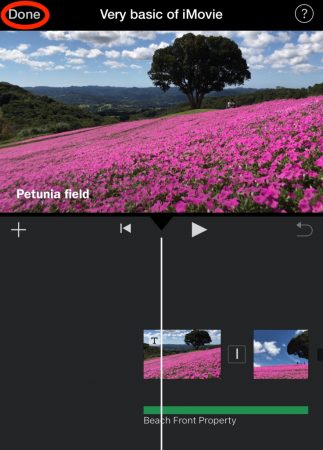
Tap Done on the upper left to finish editing.
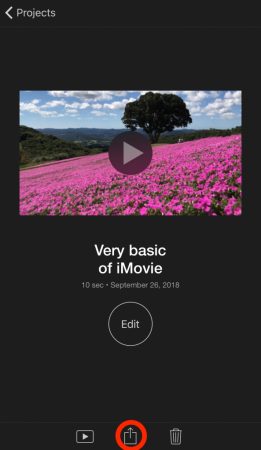
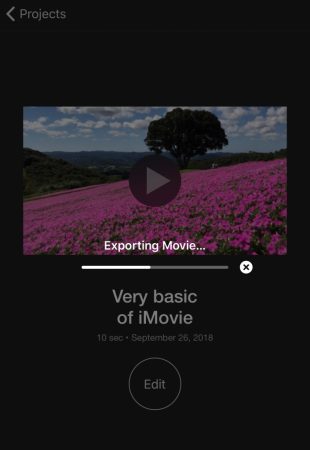
Tap the export button on the bottom.
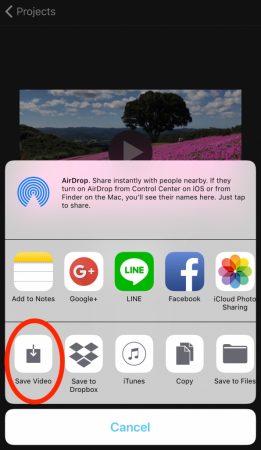
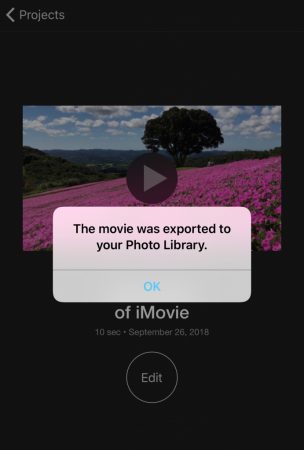
Tap “Save Video” to export a video to the camera roll of your iPhone.
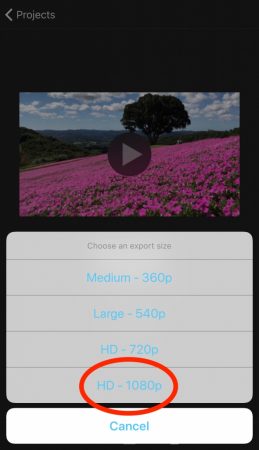
Select the video quality.
I always choose “HD – 1080p”.
If you want a smaller size video, select other quality.
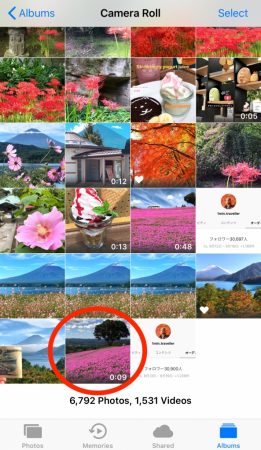
The video is saved in the camera roll.
コメント
この記事へのトラックバックはありません。




この記事へのコメントはありません。